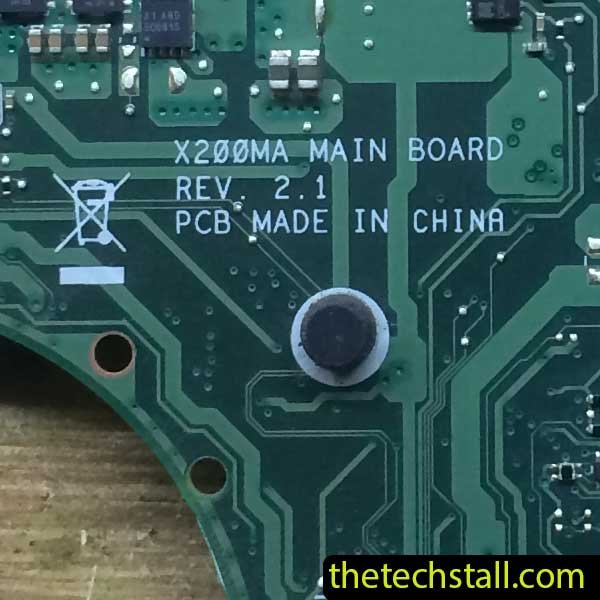
If you’re dealing with an unresponsive ASUS X200M or struggling to fix motherboard issues, you’ve likely encountered the need for advanced chip-level repairs. One essential tool for these repairs is the X200MA REV 2.1 BIOS BIN File, a critical resource for restoring your laptop to full functionality.

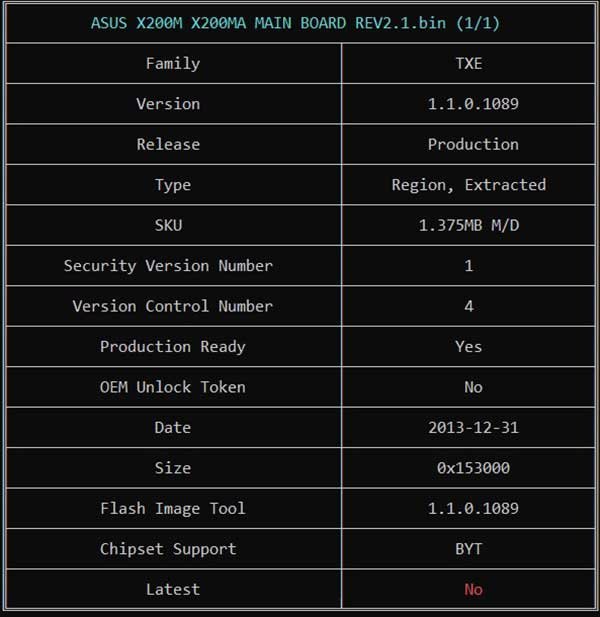
ME Analyzer software is ideal for checking the X200MA REV 2.1 BIOS BIN file as it provides detailed insights into the Intel Management Engine (ME) firmware, verifies BIOS version and authenticity, ensures compatibility with hardware, and identifies potential vulnerabilities. It is a free, lightweight tool that helps troubleshoot and repair BIOS issues.
Before diving into the repair process, it’s essential to identify the symptoms that suggest a corrupted BIOS:
If your ASUS X200M exhibits these symptoms, reprogramming or replacing the BIOS chip with the X200MA REV 2.1 BIOS BIN File can resolve the issue.
Before starting, ensure you have the following tools and resources:
We understand that accessibility to high-quality resources is a top priority for technicians. That’s why we’re offering the X200MA REV 2.1 BIOS BIN FILE as a free download on this blog page.
If you don’t know how to program or re-program or flash the bios chip then you can watch the video below.
Reassemble the laptop and power it on. If the repair was successful, the system should boot correctly.

“Don’t miss out X200MA Rev 1.1/X200MA Rev 2.0/X200MA Rev 2.1 boardview file for a complete repair guide”
The X200MA REV 2.1 BIOS BIN File is the most compatible firmware for the ASUS X200M motherboard. It ensures optimal performance and resolves issues like corrupted firmware, boot loops, and system freezes.
Download “ASUS X200M BIOS FILE” ASUS-X200M.zip – Downloaded 1888 times – 9.32 KBRepairing the ASUS X200M at the chip level is a cost-effective way to restore functionality without replacing the entire motherboard. The X200MA REV 2.1 BIOS BIN File plays a vital role in these repairs, ensuring the BIOS operates correctly. By following the steps outlined above, you can confidently repair your laptop and get it back in working condition. With patience and precision, your ASUS X200M can be as good as new.
You also may be interested in
Share with friends
thetechstall.com would like to share with you all the resources you need to repair desktop and laptop motherboards for free.
Developed By: Ibrahim Hossen